If you are using your own VPS and have installed WordPress, you may find that your new users do not receive registration emails after registering. This kind of problem is very common. The main reason is that WordPress uses PHP mail() functions to send emails by default, but many hosting providers disable this function to prevent spam abuse. We can install the WP Mail SMTP plugin to configure SMTP to solve this problem, but it is also troublesome. Based on my own experience, I think third-party plugins can effectively solve this problem.
The following are some common free third-party email services that are suitable for sending emails from WordPress websites, but they also have their own limitations, and you can pay attention to the monthly quota limit: If you are not familiar with them, you can see the operations in My recommended section below.
1. SendGrid
- Free quota : 100 emails per month (domain name or email address verification is required after registration).
- Features :
- Provides two sending methods: SMTP and API.
- Supports transactional and marketing emails.
- Provides email analysis function.
- Official website : https://sendgrid.com
2. Mailgun
- Free quota : 1,000 emails per month (domain verification required after registration).
- Features :
- Supports SMTP and API.
- Provides email logging and analysis functions.
- Suitable for developers.
- Official website : https://www.mailgun.com
3. Amazon SES (Simple Email Service)
- Free credit : 62,000 messages per month (sent from Amazon EC2 instances only).
- Features :
- High reliability, suitable for large-scale delivery.
- Supports SMTP and API.
- An AWS account is required and the configuration is slightly complicated.
- Official website : https://aws.amazon.com/ses
4. Zoho Mail
- Free quota : 200 emails per day (need to register a Zoho account).
- Features :
- Provides free SMTP service.
- Supports custom domain names.
- Perfect for small business or personal use.
- Official website : https://www.zoho.com/mail
5. Yandex Mail
- Free quota : 500 emails per day (Yandex account required).
- Features :
- Provides free SMTP service.
- Supports custom domain names.
- Perfect for personal or small projects.
- Official website : https://mail.yandex.com
6. Brevo (formerly Sendinblue)
- Free quota : 300 emails per day (no daily limit, but monthly limit).
- Features :
- Provides SMTP and API.
- Supports transactional and marketing emails.
- Provides email templates and analysis functions.
- Official website : https://www.brevo.com
7. Mailjet
- Free quota : 6,000 emails per month (200 per day).
- Features :
- Provides SMTP and API.
- Supports transactional and marketing emails.
- Provides email templates and analysis functions.
- Official website : https://www.mailjet.com
8. Gmail SMTP
- Free quota : 500 emails per day (Gmail or Google Workspace account required).
- Features :
- Use Gmail’s SMTP server to send mail.
- Simple configuration, suitable for small websites.
- Requires enabling “Allow less secure apps” or using OAuth 2.0 authentication.
- Official website : https://mail.google.com
9. Elastic Email
- Free quota : 100 emails per day.
- Features :
- Provides SMTP and API.
- Supports transactional and marketing emails.
- Provides email analysis function.
- Official website : https://elasticemail.com
10. Postmark
- Free quota : 100 emails per month (domain name registration and verification required).
- Features :
- Focus on transactional emails.
- Provides detailed email logging and analysis.
- Suitable for developers.
- Official website : https://postmarkapp.com
Selection suggestion:
- Small website or personal blog : SendGrid, Mailgun, Brevo or Gmail SMTP are good choices, with simple configuration and sufficient free quota.
- Medium and large websites : Amazon SES or Mailjet are more suitable, with higher free quotas and strong scalability.
- Developers or Enterprises : Postmark or Mailgun provide more detailed logging and analysis capabilities.
When configuring, it is recommended to use the WP Mail SMTP plug-in to facilitate the integration of these third-party mail services.
My Recommendation
I think using Brevo (formerly Sendinblue) to send and verify new user registration emails for WordPress is a good choice. Brevo provides free SMTP service and supports email subscription function, which is very suitable for WordPress websites. The key is that the whole configuration process is very simple, which is very suitable for novice users. The following is a detailed configuration tutorial:
Step 1: Register a Brevo account
- Visit Brevo official website .
- Click Sign up free and register an account using your email address.
- Complete the email verification and log in to the Brevo backend.
Step 2: Add a domain
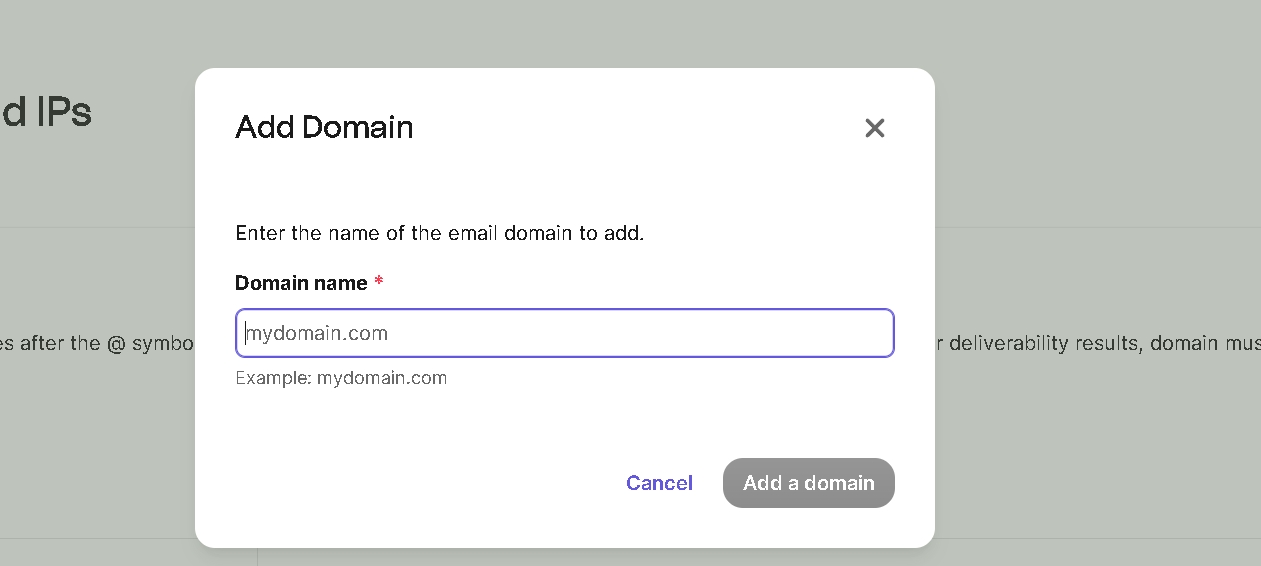
- After logging into the Brevo backend, go to the Senders, Domains & Dedicated IPs page.
- Click Add a domain
- Verify the domain name. If you use cloudflare, you can verify it easily.
Step 3: Add sender
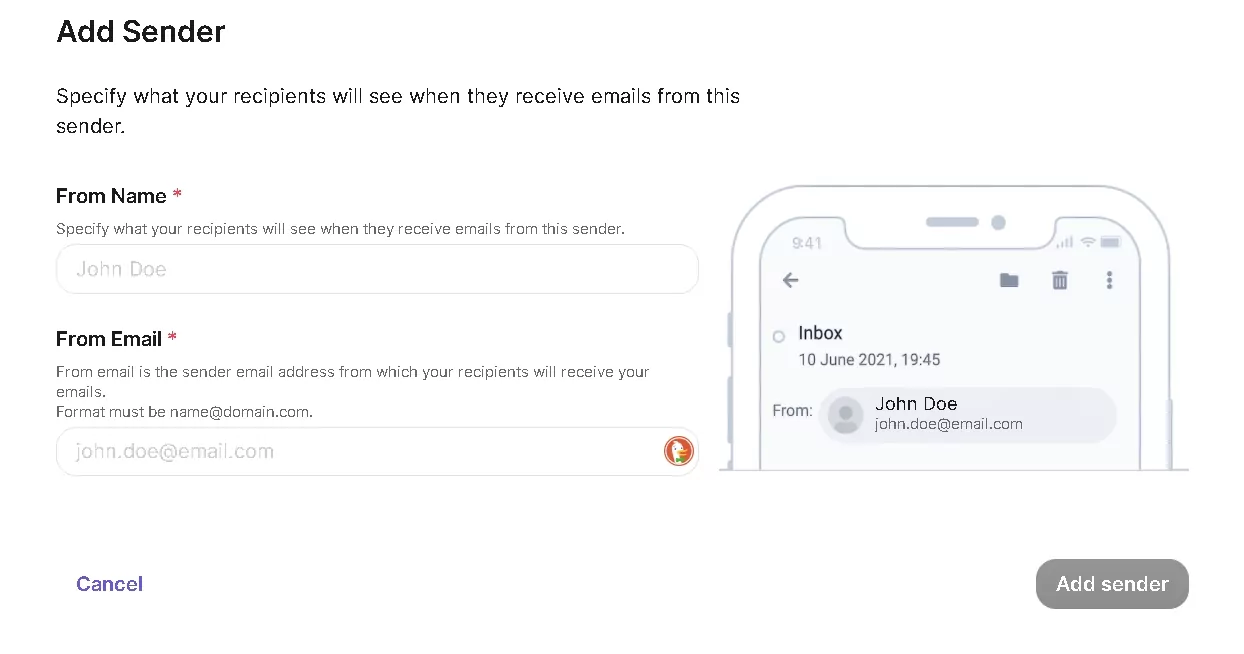
- After logging into the Brevo backend, go to the Senders, Domains & Dedicated IPs page.
- Click Add sender
- Enter the email address you want to use to send emails, such as [email protected]
Step 4: Create an SMTP KEY
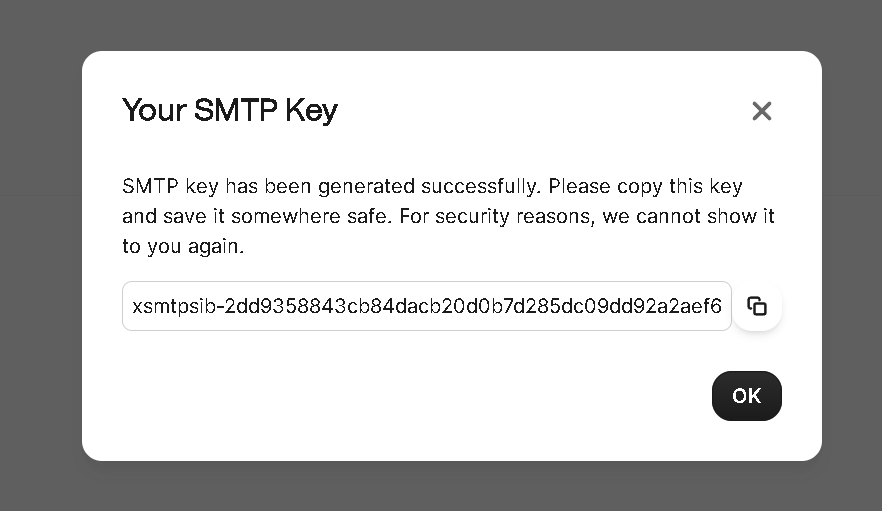
- After logging into the Brevo backend, go to the SMTP & API page in the upper right corner.
- Click Generate a new SMTP Key
- Get an SMTP Key starting with “xsmtpsib-“
Step 5: Install the Brevo plugin
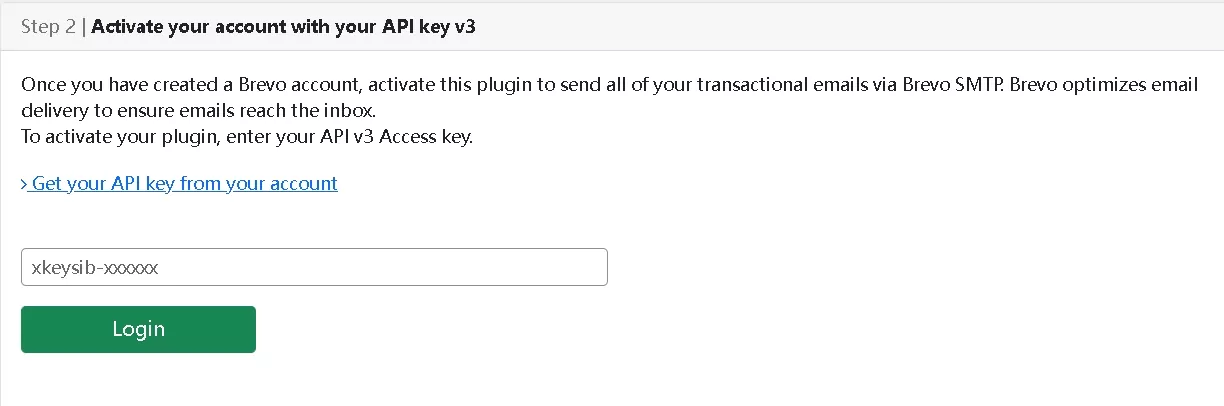
- Log in to your WordPress backend.
- Navigate to Plugins > Install Plugins and search for Brevo .
- Install and activate the plugin.
- Once activated, go to Brevo Home > Settings .
- Enter your SMTP Key
- Then select your Sender in Transactional emails
Step 6: Test email sending
- On the Brevo Home > Settings page, find the Enter email to send a test tab.
- Enter a test email address and click Send Test Email .
- If the configuration is correct, the test mailbox will receive a test email.
Step 7: Enable WordPress User Registration
- Log in to your WordPress backend.
- Navigate to Settings > General .
- Check Anyone can register .
- In Default role for new users, select the default role (such as Subscriber).
- Click Save changes .
Step 8: Verify the user registration process
- Open your WordPress registration page (usually
yourdomain.com/wp-login.php?action=register. - Register using a new email address.
- Check whether the registered email sent by WordPress is received in the registered email.
- If you receive an email, click the link in the email to complete your registration.
FAQ
- Cannot receive emails :
- Check that Brevo’s SMTP configuration is correct.
- Check whether the sender email address of WordPress is the same as the registered email address of Brevo.
- Check the SMTP Logs in the Brevo backend to see if the email was sent successfully.
- Mail goes to the trash :
- Make sure the sender’s email address and domain name have been verified by Brevo.
- Set up SPF and DKIM records in the Brevo backend to improve email credibility.
Through the above steps, you can successfully configure Brevo as the email service of WordPress to send and verify user registration emails. If you need to further expand the functions, Brevo also supports advanced features such as email templates and automated workflows.